NOTE: This document provides the basic information for getting your first campaign running. For more in-depth information on specific areas within Free App Analytics, refer to Related Pages support documentation links provided.
NOTE: Free App Analytics accounts will only have access to run campaigns with Self-Attributing Networks (for example, Google, Facebook, Twitter, Amazon, etc.). The full list of SANs you can run campaigns with will be included in the dropdown in your Kochava dashboard. You will need an upgraded account in order to run campaigns with non-SAN partners.
Data Needed Before Beginning Process:
- Create an App Within Free App Analytics
- Integrate Free App Analytics SDK successfully into an app.
Create an Install Campaign
- Log in to Free App Analytics.
- Select the desired Account and App.
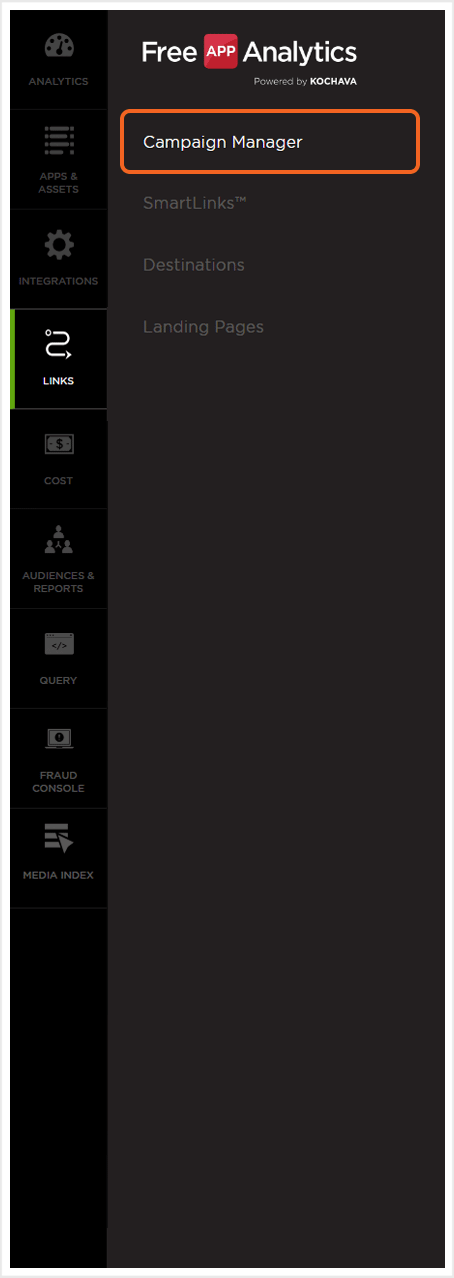
- Select Links > Campaign Manager.

- Click Add a Tracker or Select Segment Tools (⋮) > Add a Tracker.
- Select the Campaign.
- Select the Segment.
- Enter Tracker Name.
- Select the desired Media Partner.
- Click Save.
NOTE: In order to streamline the Campaign/Segment/Tracker creation process a feature has been added to allow the creation of campaigns and segments while creating a new tracker. For more information about creating a campaign or segment while adding a new tracker, refer to our Create an Install Campaign support document. support documentation.
![]()
A. Campaign and Segment selection/creation section.
Create a Postback
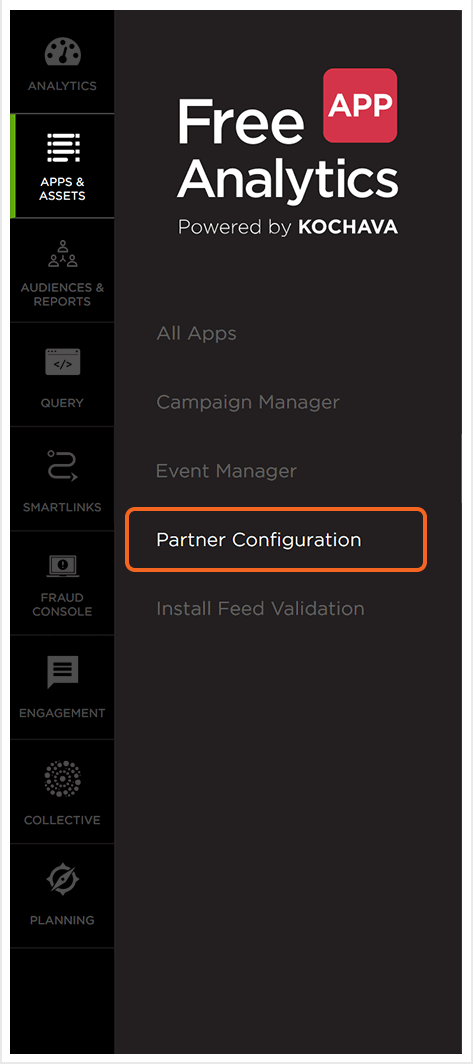
- Select Apps & Assets > Partner Configuration.
- Click Add a Configuration.
- Select a Network Partner.
- Click Go.
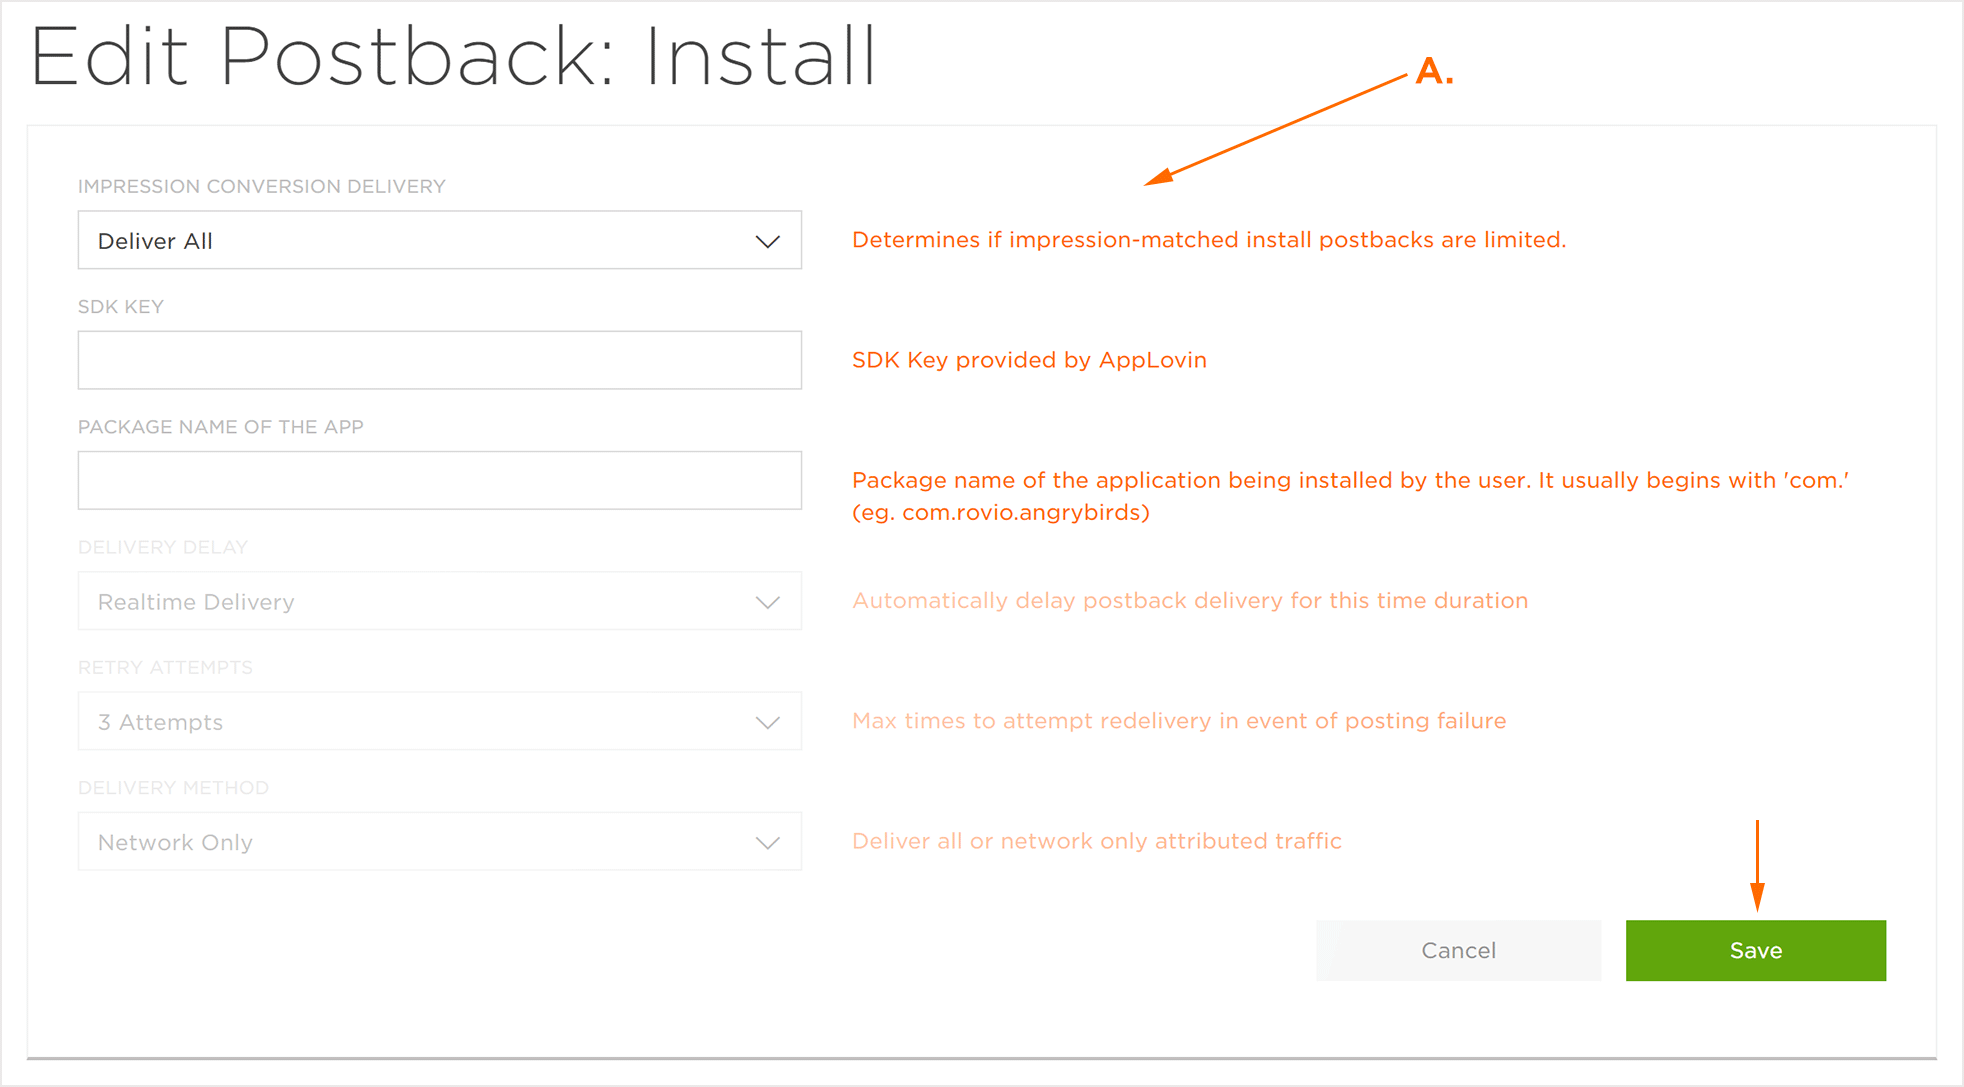
- Select Install > Postback Tools (⋮) > Edit.
- Enter network specific data.
- Click Save.

NOTE: The network specific data will vary depending on the selected network. For more information about network specific data, contact your Client Success Managers.

A. Enter network specific data
NOTE: For more information about creating a Kochava-Certified postback, refer to our Create a Kochava-Certified Postback support documentation.
