
This feature is available with paid Kochava accounts. Contact us to learn more.
Create a Web Conversion Campaign
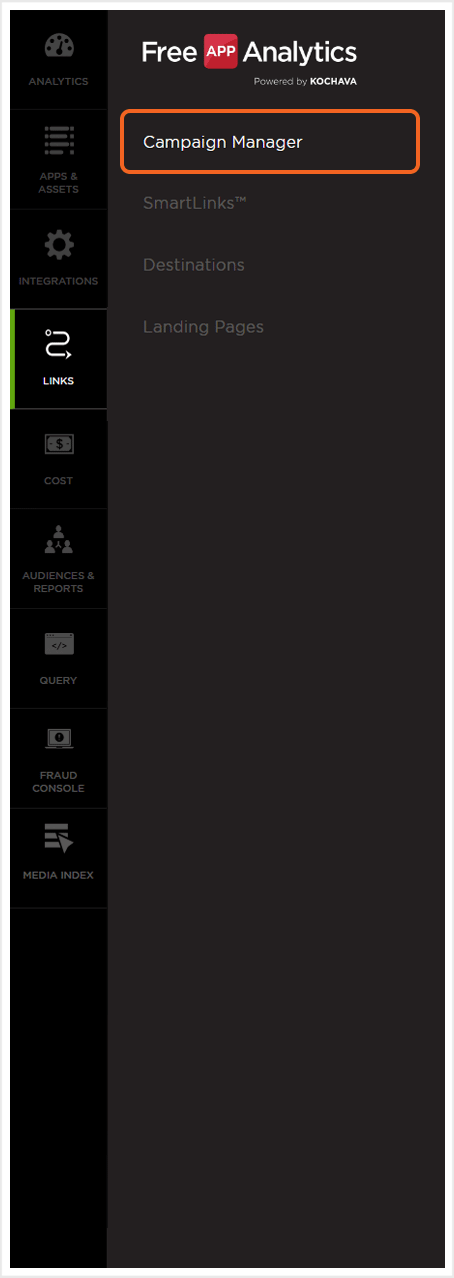
- Log in to Free App Analytics.
- Select the desired Account and App.
- Select Links > Campaign Manager.
- Click Add a Tracker or Select Segment Tools (⋮) > Add a Tracker.
- Select the Campaign.
- Select the Segment.
- Enter a unique Tracker Name.
- Select Tracker Type > Acquisition. (default setting)
- Select a Media Partner.
- Select an Agency Partner. (optional)
- Enter or Update the Install Destination URL.
- Enter a Deep Link. (optional)
- Expand Custom Parameters and Click Add New Parameter
- Enter device_id to the Key field.
- Enter {device_id} to the Value field.
- Click Save (If no further Trackers need to be created).
- Click Save & Add Another Tracker (If additional Trackers need to be created).
NOTE: In order to streamline the Campaign/Segment/Tracker creation process a feature has been added to allow the creation of campaigns and segments while creating a new tracker. For more information about creating a campaign or segment while adding a new tracker, refer to our Create an Install Campaign support document. support documentation.
NOTE: Because device IDs are not available in web, it is required that the ad network replaces their device_id macro with a randomly generated session ID on the click.
NOTE: The Share With Publisher setting allows the associated publisher to view the settings for this Tracker. By unchecking this box, the associated publisher will not be able to view the settings for the Tracker.
NOTE: The Install URL will be automatically pulled from the Destination URL entered during app creation.
NOTE: The network needs to either pass a device ID, or a randomly generated session value into the device_id field on the click. The value that is passed into the device_id field is the value that Kochava uses for attribution.
NOTE: Adding the above code to the end of the Destination URL will allow the session variable that is generated on the click to be passed into the destination URL. The advertiser must then persist this into each subsequent page that the advertiser visits so that it is available to be passed to Kochava on conversion.
![]()
A. Campaign and Segment selection/creation section.
B. Add device_id and {device_id} to the Custom Parameter.
Passing Kochava the Conversion Event
In order to pass Kochava the conversion event, an ‘install’ action must be passed to the Server-to-Server endpoint. Within the JSON body of this call, the session variable that was generated on the click must be present as the device_id.
http://control.kochava.com/track/json
Sample Event Call:
{
	"data": {
		"usertime": 1441582077,
		"device_ua": "",
		"conversion_data": {
			"utm_campaign": "",
			"utm_medium": "",
			"utm_source": ""
		},
		"origination_ip": "201.93.250.86",
		"action": "install",
		"device_ids": {
			"udid": "",
			"mac": "",
			"idfa": "session_variable_here",
			"imei": "",
			"adid": "",
			"odin": "",
			"android_id": ""
		}
	},
	"kochava_app_id": "GUID_of_Kochava_App",
	"action": "install"
}