This feature is available only with paid Kochava accounts. Contact us to learn more.
The integration with Google Tag Manager allows your mobile app’s event data to be sent to Kochava which can be used for attribution, and displayed within our analytics system.
Minimum Requirements:
- App GUID (obtained from Kochava)
- App with Firebase SDK
Google Tag Manager Setup
Due to the sequence of events on Android, the built-in first_open event is not currently available to Google Tag Manager. To obtain an indication of first open today, you must include some code in the app to set a variable in local storage upon the app starting, and conditionally log a custom first open event if it is not already set. The Function Call tag allows you to initiate a pre-registered function implemented in the app, but will not enable you to get a first open event without having some code implemented in the app to do so. It may be a good idea to call that code via a Function Call tag, however, to ensure that GTM has already loaded before attempting to log a custom first open event.
- Create a User defined variable of type “Function call” that returns whether first open has ever triggered and stores when it has fired.
- Create a trigger for first open based on “Container Loaded” with an additional condition that checks the custom variable.
- Log in to Google Tag Manager.
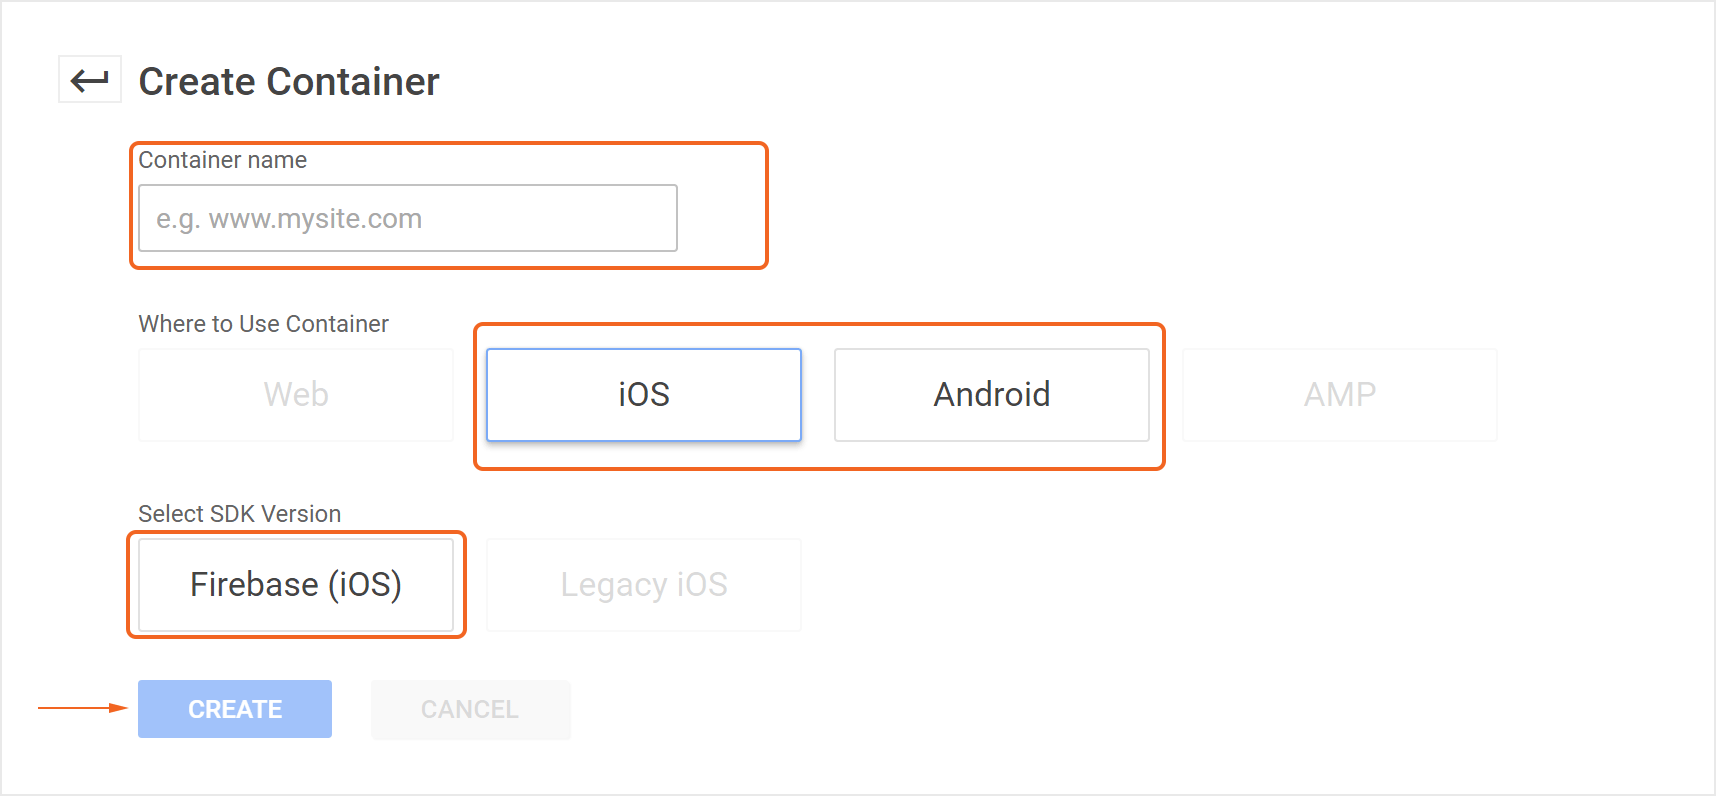
- Create a Container.
- Enter a Container Name.
- Select Where to Use Container:
- iOS
- Android
- Select the SDK Version:
- Firebase (iOS)
- Firebase (Android)
- Click Create.
Create a Kochava Install Tag
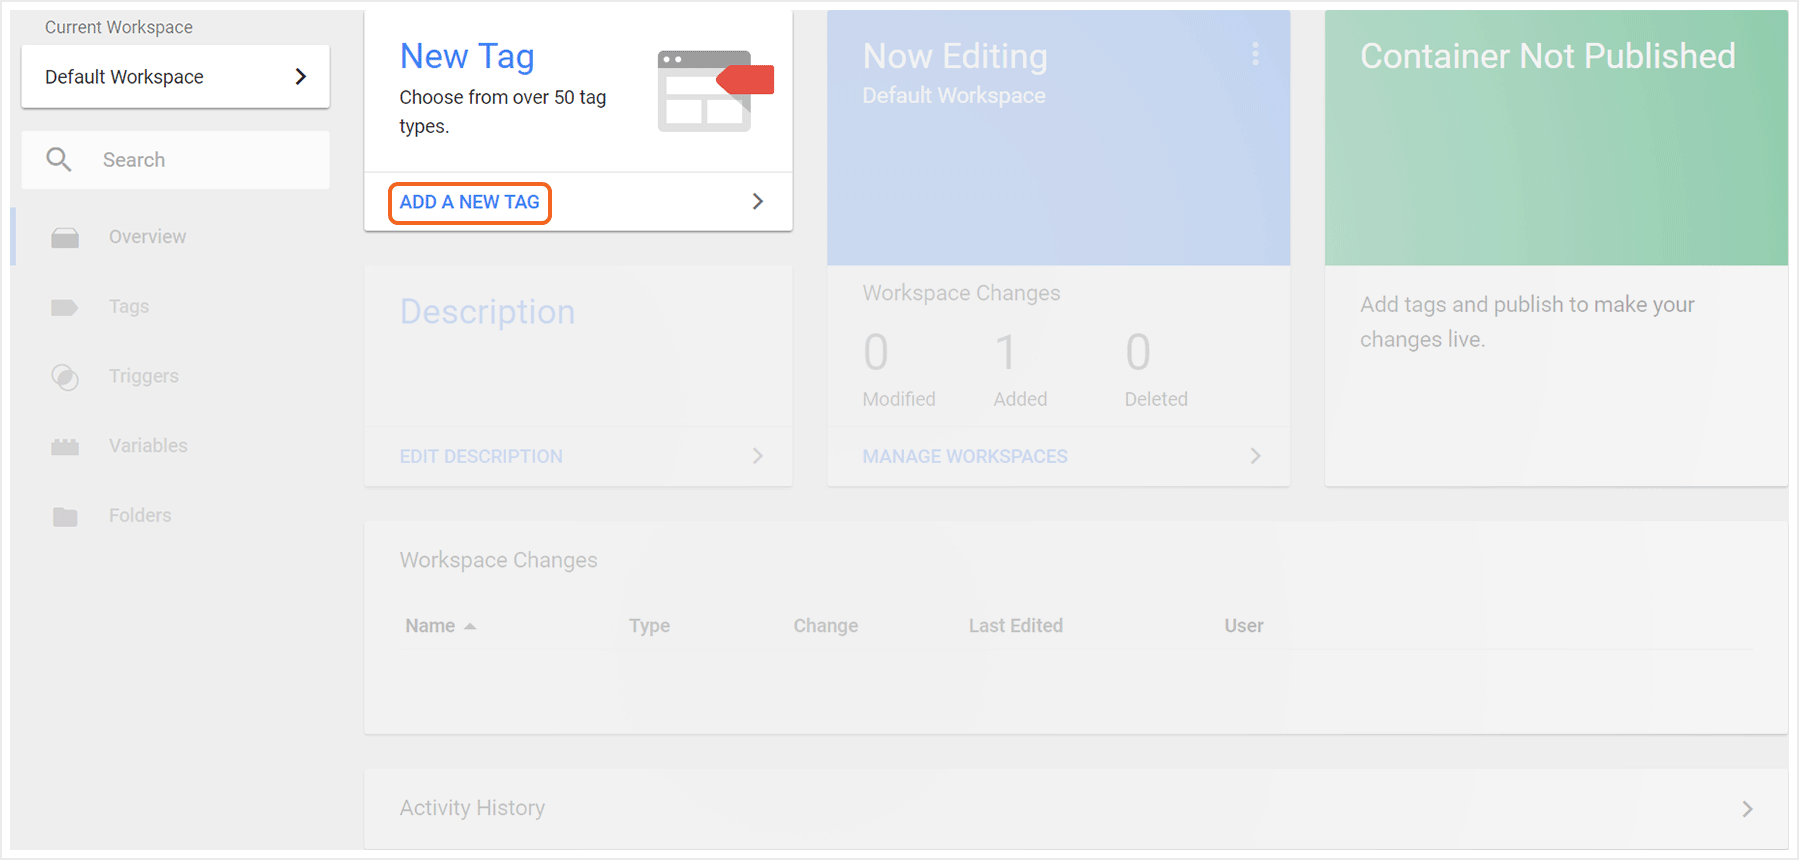
- Click Add a new tag.
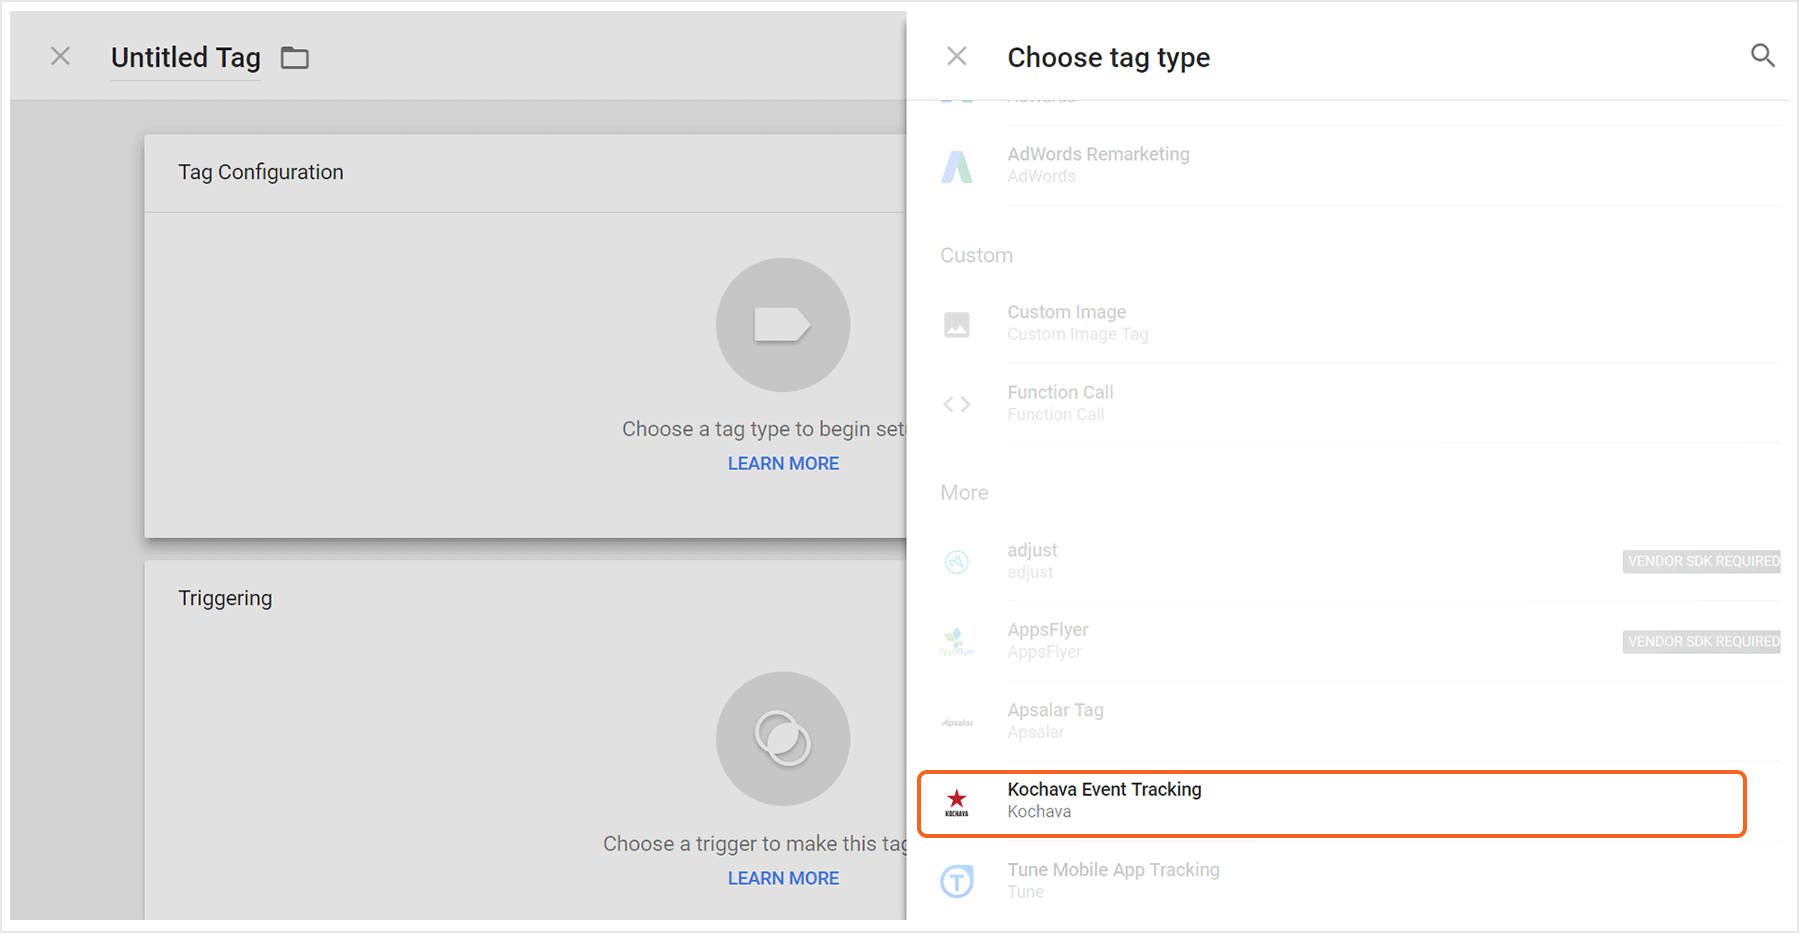
- Select Kochava Event Tracking.
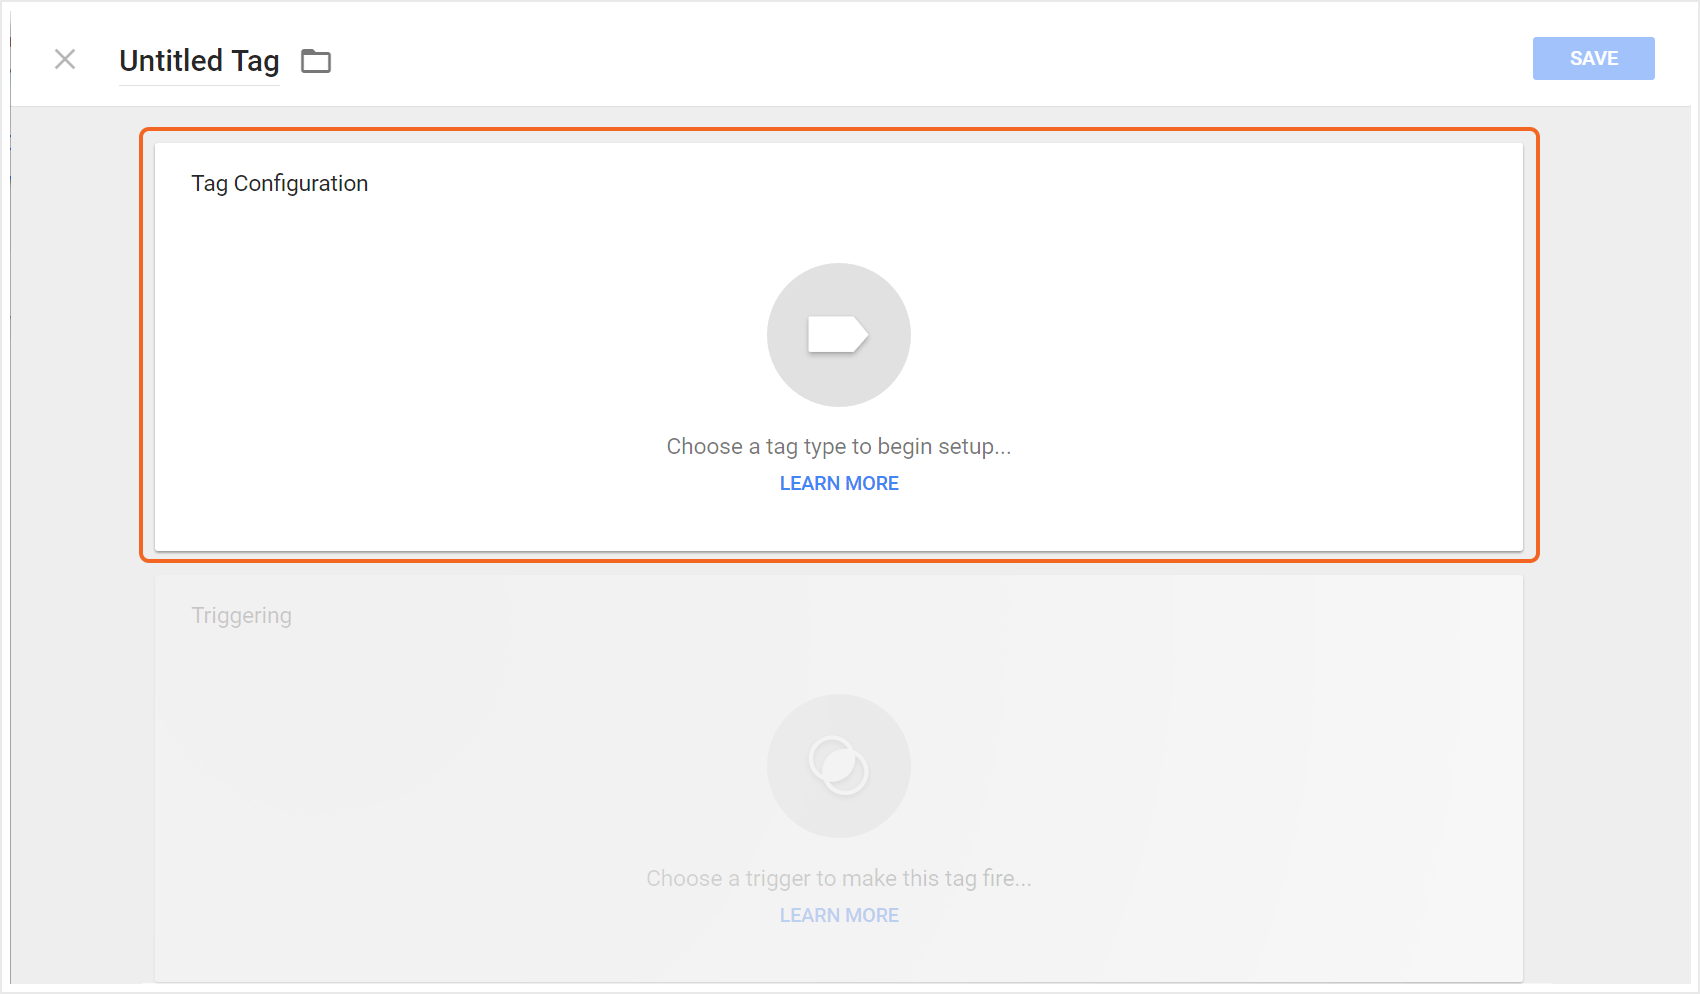
- Click Tag Configuration.
- Select the Action Type > Install.
- Enter the Kochava Application ID. (App GUID from Kochava)
- Check to Set App Version. (optional)
- Check to Set Device Version. (optional)
- Click Triggering
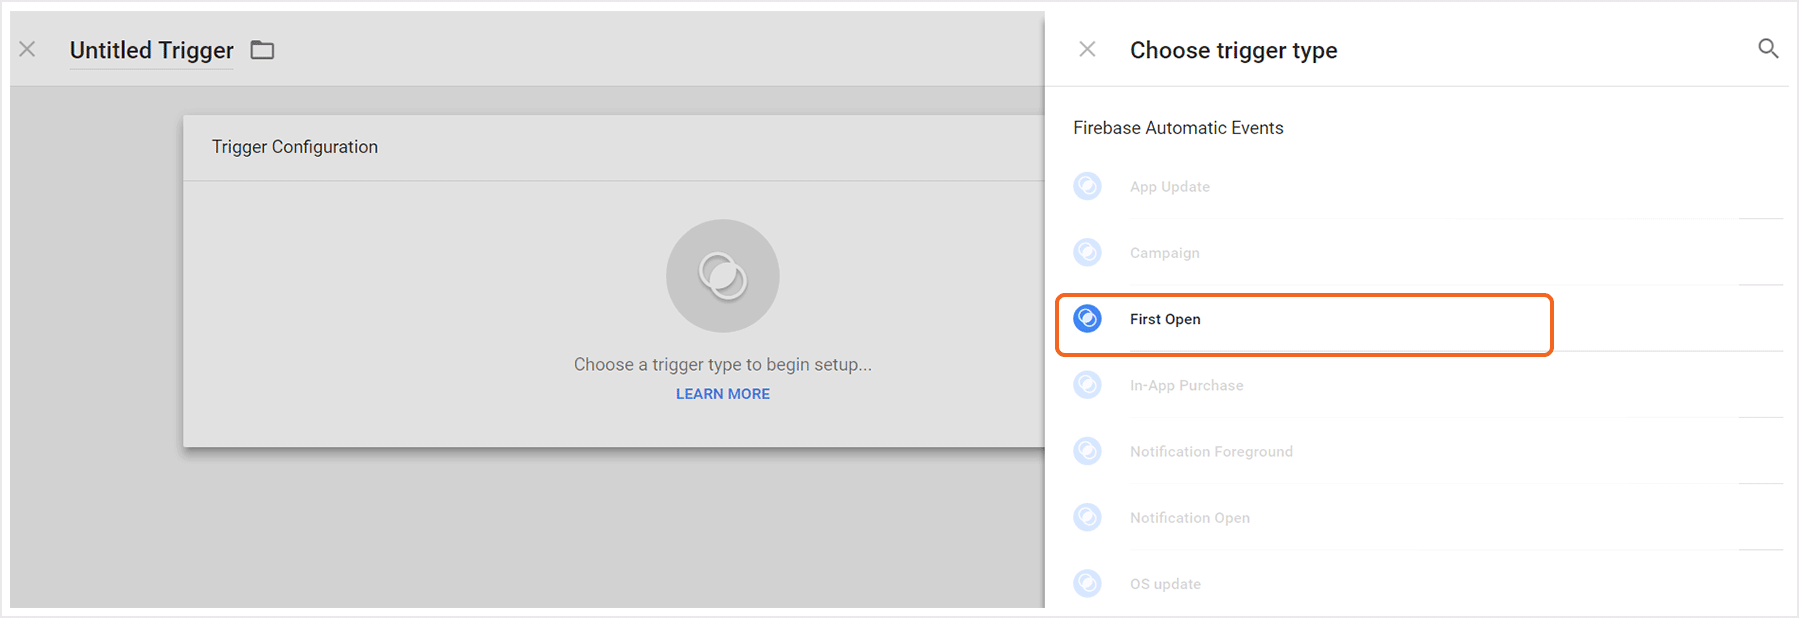
- Select First Open
- Click +.
- Click Trigger Configuration.
- Click First Open.
- Select All First Opens.
- Enter a unique Trigger Name.
- Click Save.
- Enter a unique Tag Name.
- Click Save.
NOTE: By checking this option, the app version value will be set by the valued entered within the Google Tag Manager UI.
NOTE: By checking this option, the device version value will be set by the valued entered within the Google Tag Manager UI.
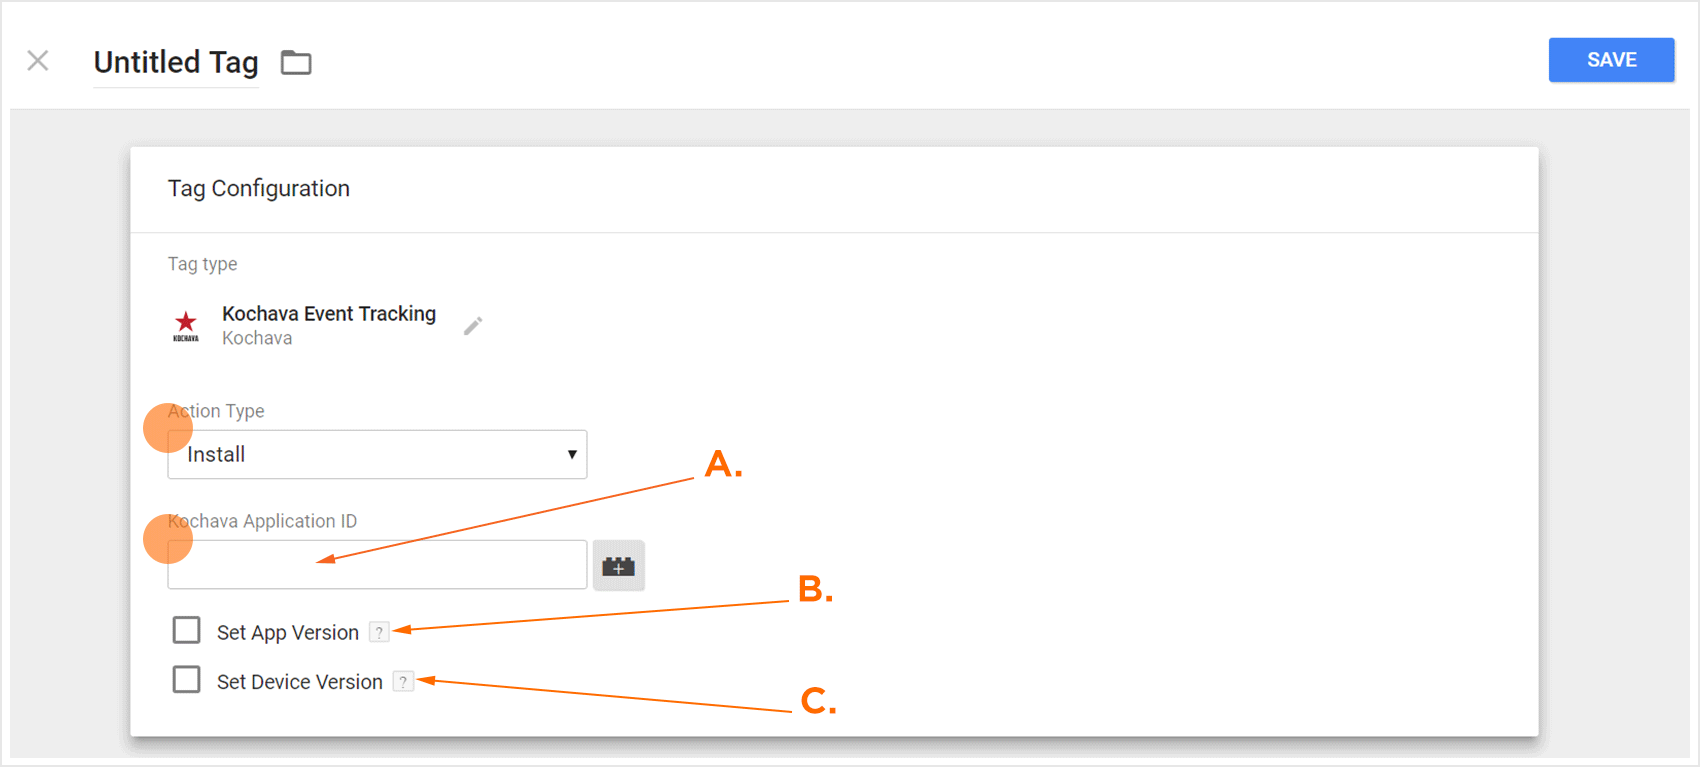
A. Enter App GUID
B. Check ONLY if the app version explicitly needs to be set.
C. Check ONLY if the device version explicitly needs to be set.
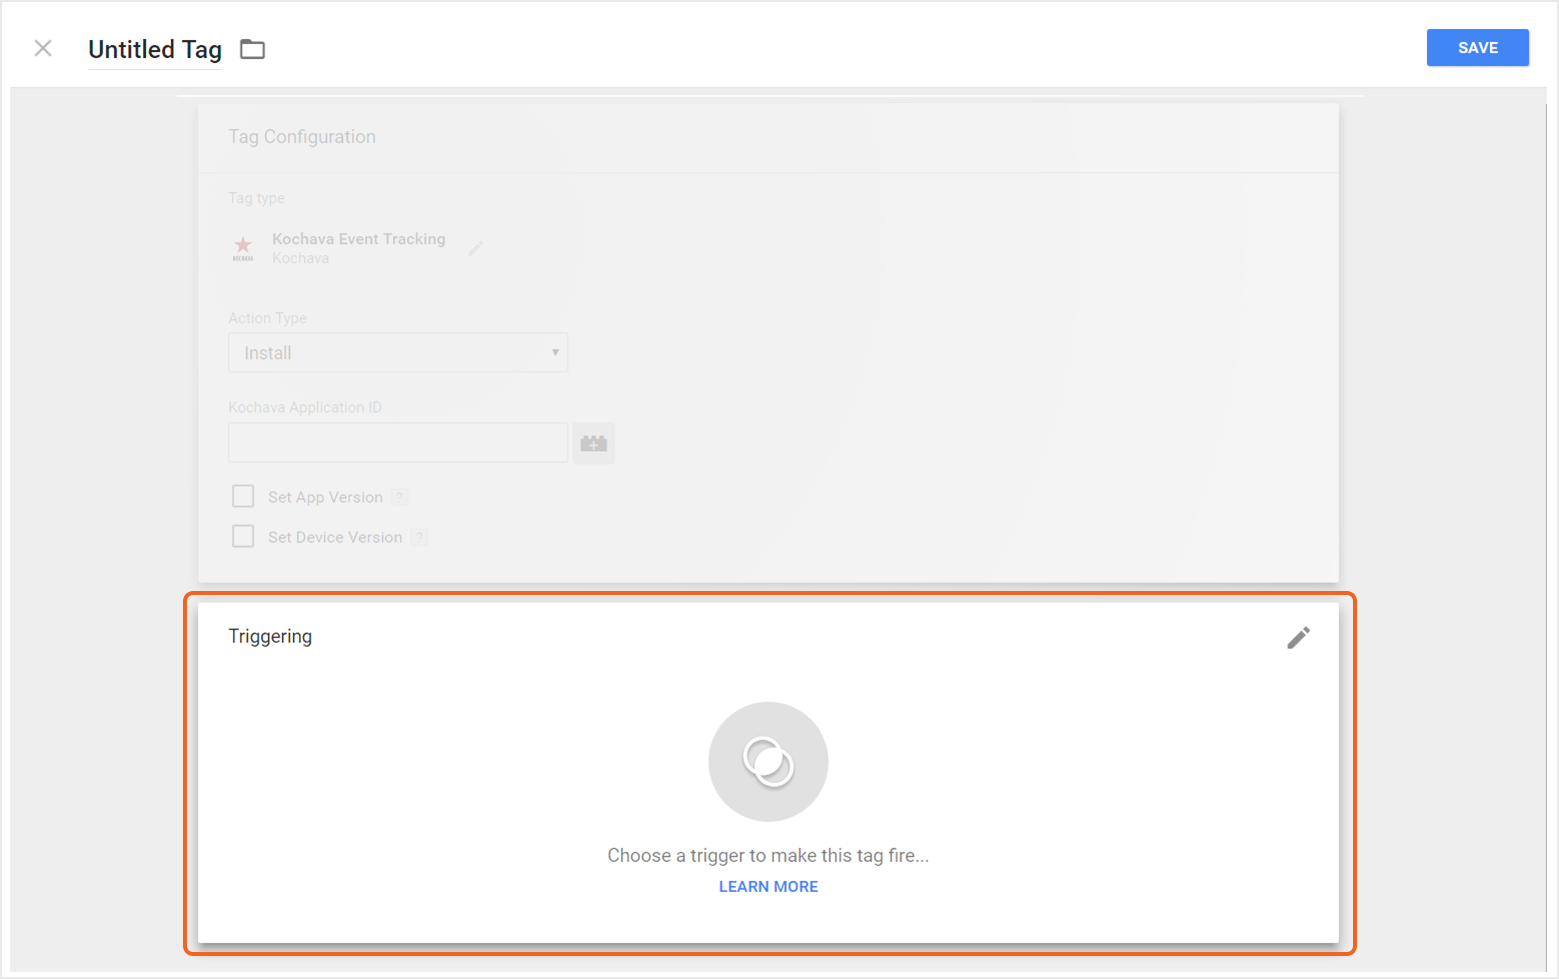
NOTE: If the First Open trigger is not present, proceed to Adding a First Open Trigger section.

A. Click “+” to add First Open trigger.
Adding a First Open Trigger:

Create a Kochava Event Tag
- Click Add a New Tag.
- Select Kochava Event Tracking.
- Click Tag Configuration.
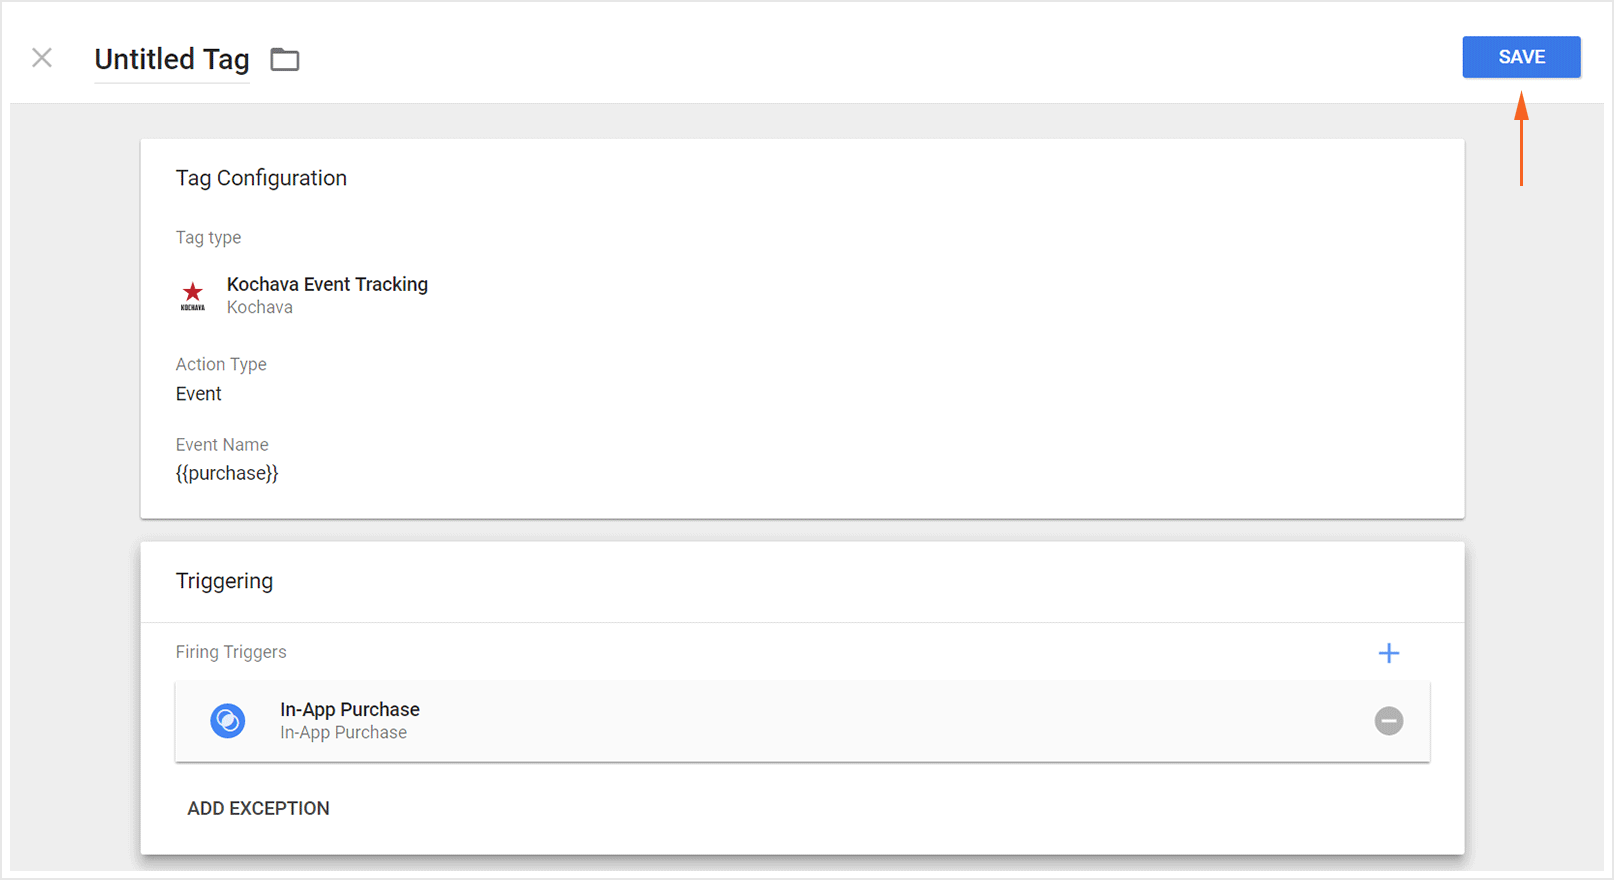
- Select the Action Type>Event.
- Enter the Kochava Application ID. (App GUID from Kochava)
- Enter an Event Name, or Select the Building Block > + for more options.
- Check to Set App Version. (optional)
- Check to Set Device Version. (optional)
- If no Custom Parameters need to be added, proceed to configuring a Trigger. If Custom Parameters need to be added continue to Add Custom Parameters section.
- Click Add Event Data.
- Enter a Key.
- Enter a Value.
- If additional Custom Parameters need to be added, repeat the steps above. If no further Custom Parameters need to be added, Click Continue.
- Click Triggering.
- Select a Trigger, or Click + to locate additional Triggers.
- Select the Trigger fires on settings.
- Enter a unique Tag Name.
- Click Save.


NOTE: Each post-install event needs to have an individual GTM tag.
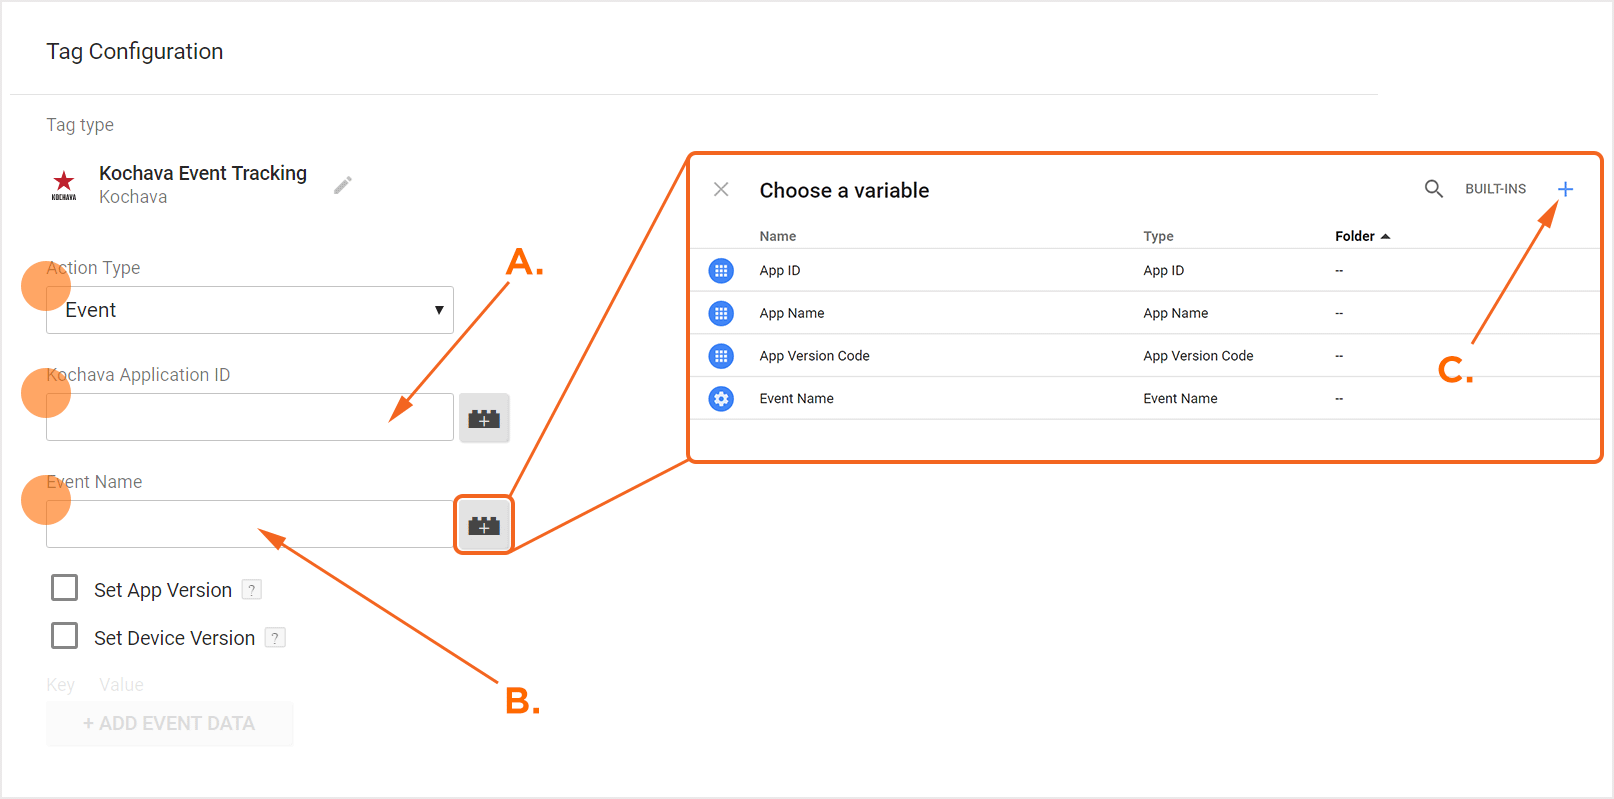
A. Enter App GUID
B. Enter an Event Name, or Click building block for options.
C. Additional Events may be added by Clicking on “+”.
NOTE: By checking this option, the app version value will be set by the valued entered within the Google Tag Manager UI.
NOTE: By checking this option, the device version value will be set by the valued entered within the Google Tag Manager UI.
Add Custom Parameters:

A. Enter Custom Parameters


