NOTE: Only one Yahoo! campaign within Free App Analytics is required to track ALL Yahoo! traffic. Any additional Yahoo! campaigns setup with Free App Analytics will display no activity.
NOTE: Create one Tracker for each Yahoo! Partner you are working with. It is not required to create a Segment for each Yahoo! Partner within the Campaign; all Yahoo! Platforms Partner Trackers can reside in a single Segment.
NOTE: In order for data to be properly attributed to Yahoo! Partners, a proper naming convention must be used when setting up your campaigns in Yahoo!. For more information about the proper naming conventions to be used for Yahoo! Partners within Yahoo!, refer to our Yahoo! Partner Naming Conventions support documentation.
Data Needed Before Beginning Process:
- Numeric app store app ID (iOS – found within the app’s store URL)
- Package Name (Android)
Create a Yahoo! Campaign
- Once a tracker has been created, navigate to Campaign Manager.
- Locate and click on the desired Campaign.
- Located the desired Segment, and click on the expand arrow.
- Locate the desired Tracker, and click on the expand arrow.
- Locate and copy the Tracker ID.
![]()
- Log in to Free App Analytics.
- Select the desired Account and App.
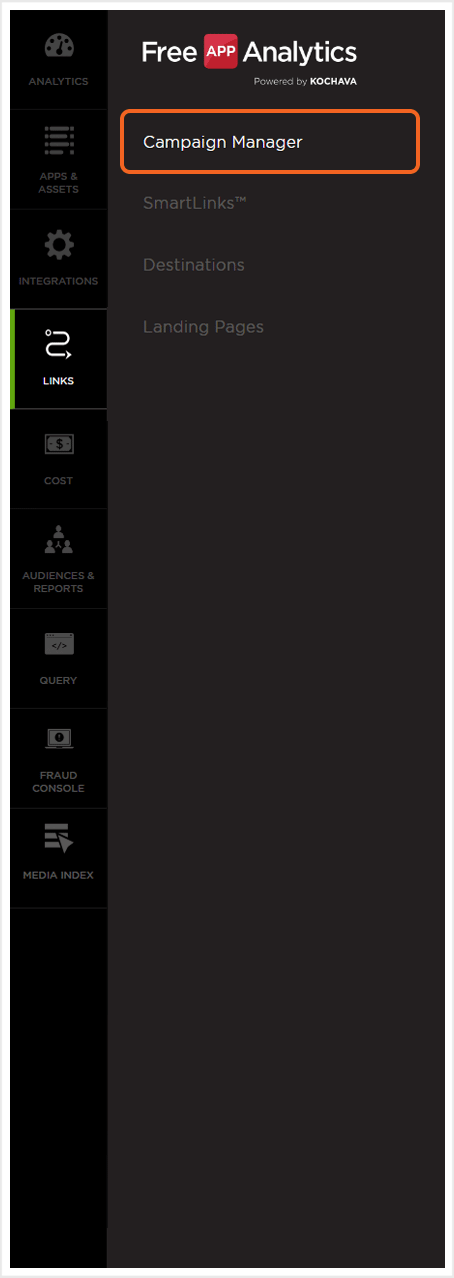
- Select Links > Campaign Manager.
NOTE: As Yahoo! is a SAN, Free App Analytics does not handle the click redirect therefore a Destination URL is not required.
- Click Add a Tracker or Select Segment Tools (⋮) > Add a Tracker.
- Select the Campaign.
- Select the Segment.
- Enter the Tracker Name.
- Select Tracker Type > Acquisition. (default setting)
- Select Media Partner > Yahoo!.
- Select an Agency Partner. (optional)
- Select Default Tracker:
- On
- Off (default)
- Enter or update the Install Destination URL.
- Enter a Deep Link. (optional)
- Enter any Custom Parameters. (optional)
- Click Save. (If no further trackers need to be created)
- Click Save & Add Another Tracker. (If additional trackers need to be created)
- Click Save & Create Postback. (To navigate directly to the Partner Configuration page).
NOTE: In order to streamline the Campaign/Segment/Tracker creation process a feature has been added to allow the creation of campaigns and segments while creating a new tracker. For more information about creating a campaign or segment while adding a new tracker, refer to our Create an Install Campaign support document. support documentation.
NOTE: When a Tracker is created, Free App Analytics automatically generates a name for the Tracker. We recommend that you replace the Tracker name at this point with a clear name of your choosing.
NOTE: Selecting On will allow SAN network traffic to funnel to the default tracker when no tracker ID is present. If a default tracker is not set up and the tracker ID is not appended to the partner campaign name, that data will be bucketed in the most recently set up tracker for that network.
![]()
A. Campaign and Segment selection/creation section.
Create an Install Postback Configuration
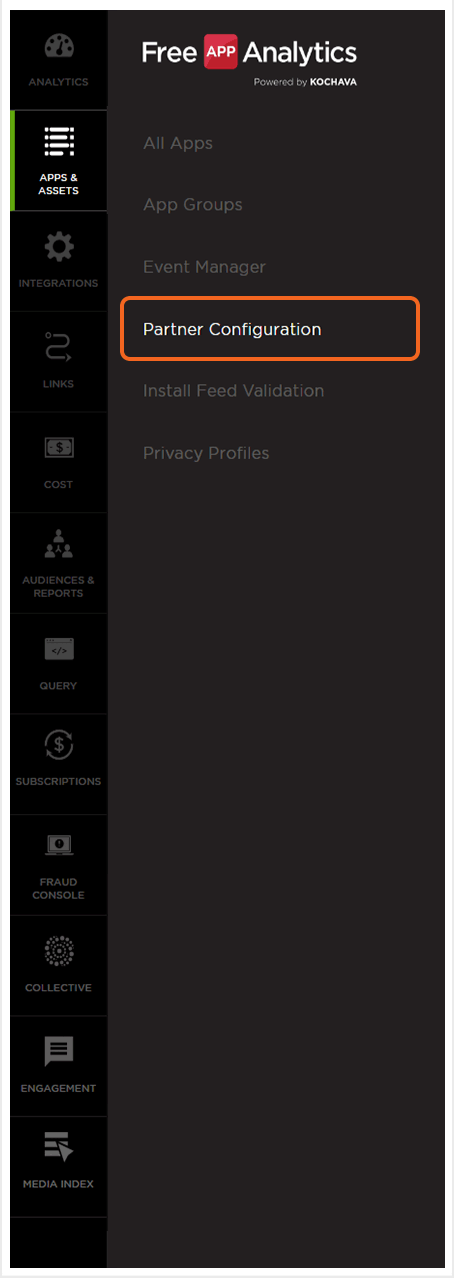
- Select Apps & Assets > Partner Configuration.
- Click Add a Configuration.
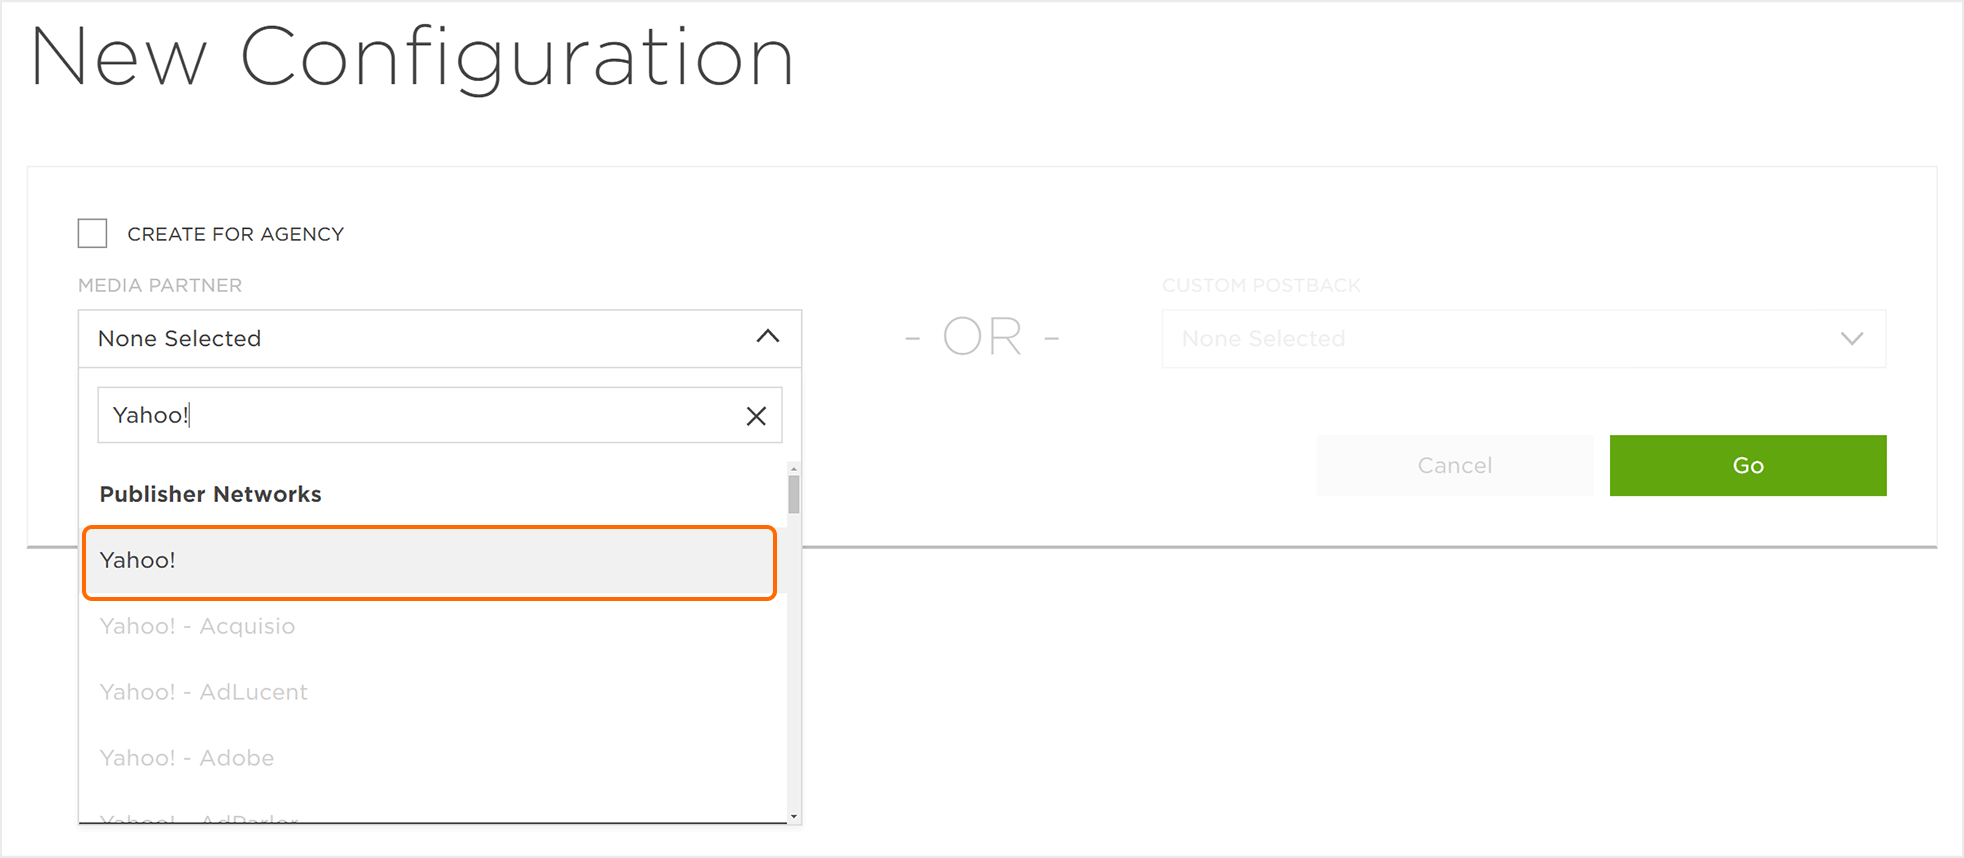
- Select Network Partner > Yahoo!.
- Click Go.
- Select Install>Postback Tools (⋮) > Edit.
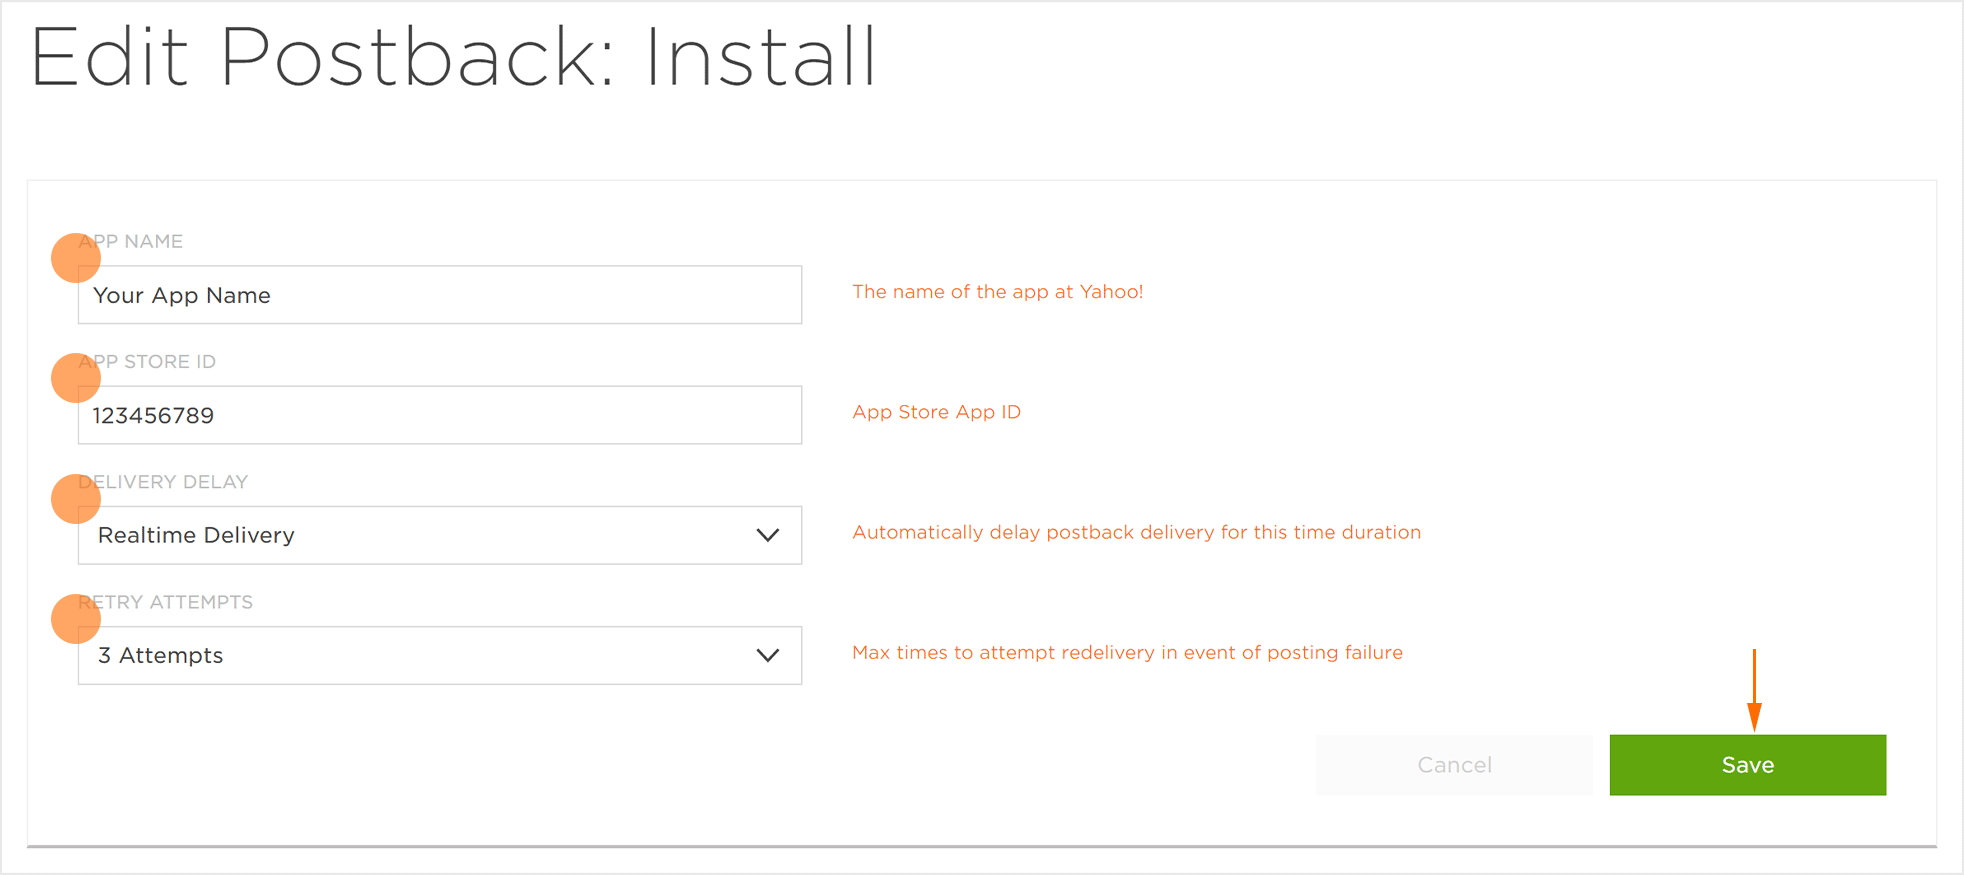
- Enter the App Name.
- Enter the App Store ID:
- Bundle ID (iOS)
- Package Name (Android)
- Select the Delivery Delay.
- Select the number of Retry Attempts.
- Click Save.
Create a Post-Install Postback Configuration
NOTE: For Yahoo! to receive post-install event information, a re-engagement tracker must be created for each event individually that you wish to pass to Yahoo!. If attribution does not need to be tracked, ensure that the proper options are configured in the postback configuration for Yahoo!.
- Select Apps & Assets > Partner Configuration.
- Click Add a Configuration.
- Select Network Partner > Yahoo!.
- Click Go.
- Locate the desired Post-Install Event and Click Edit Postback.
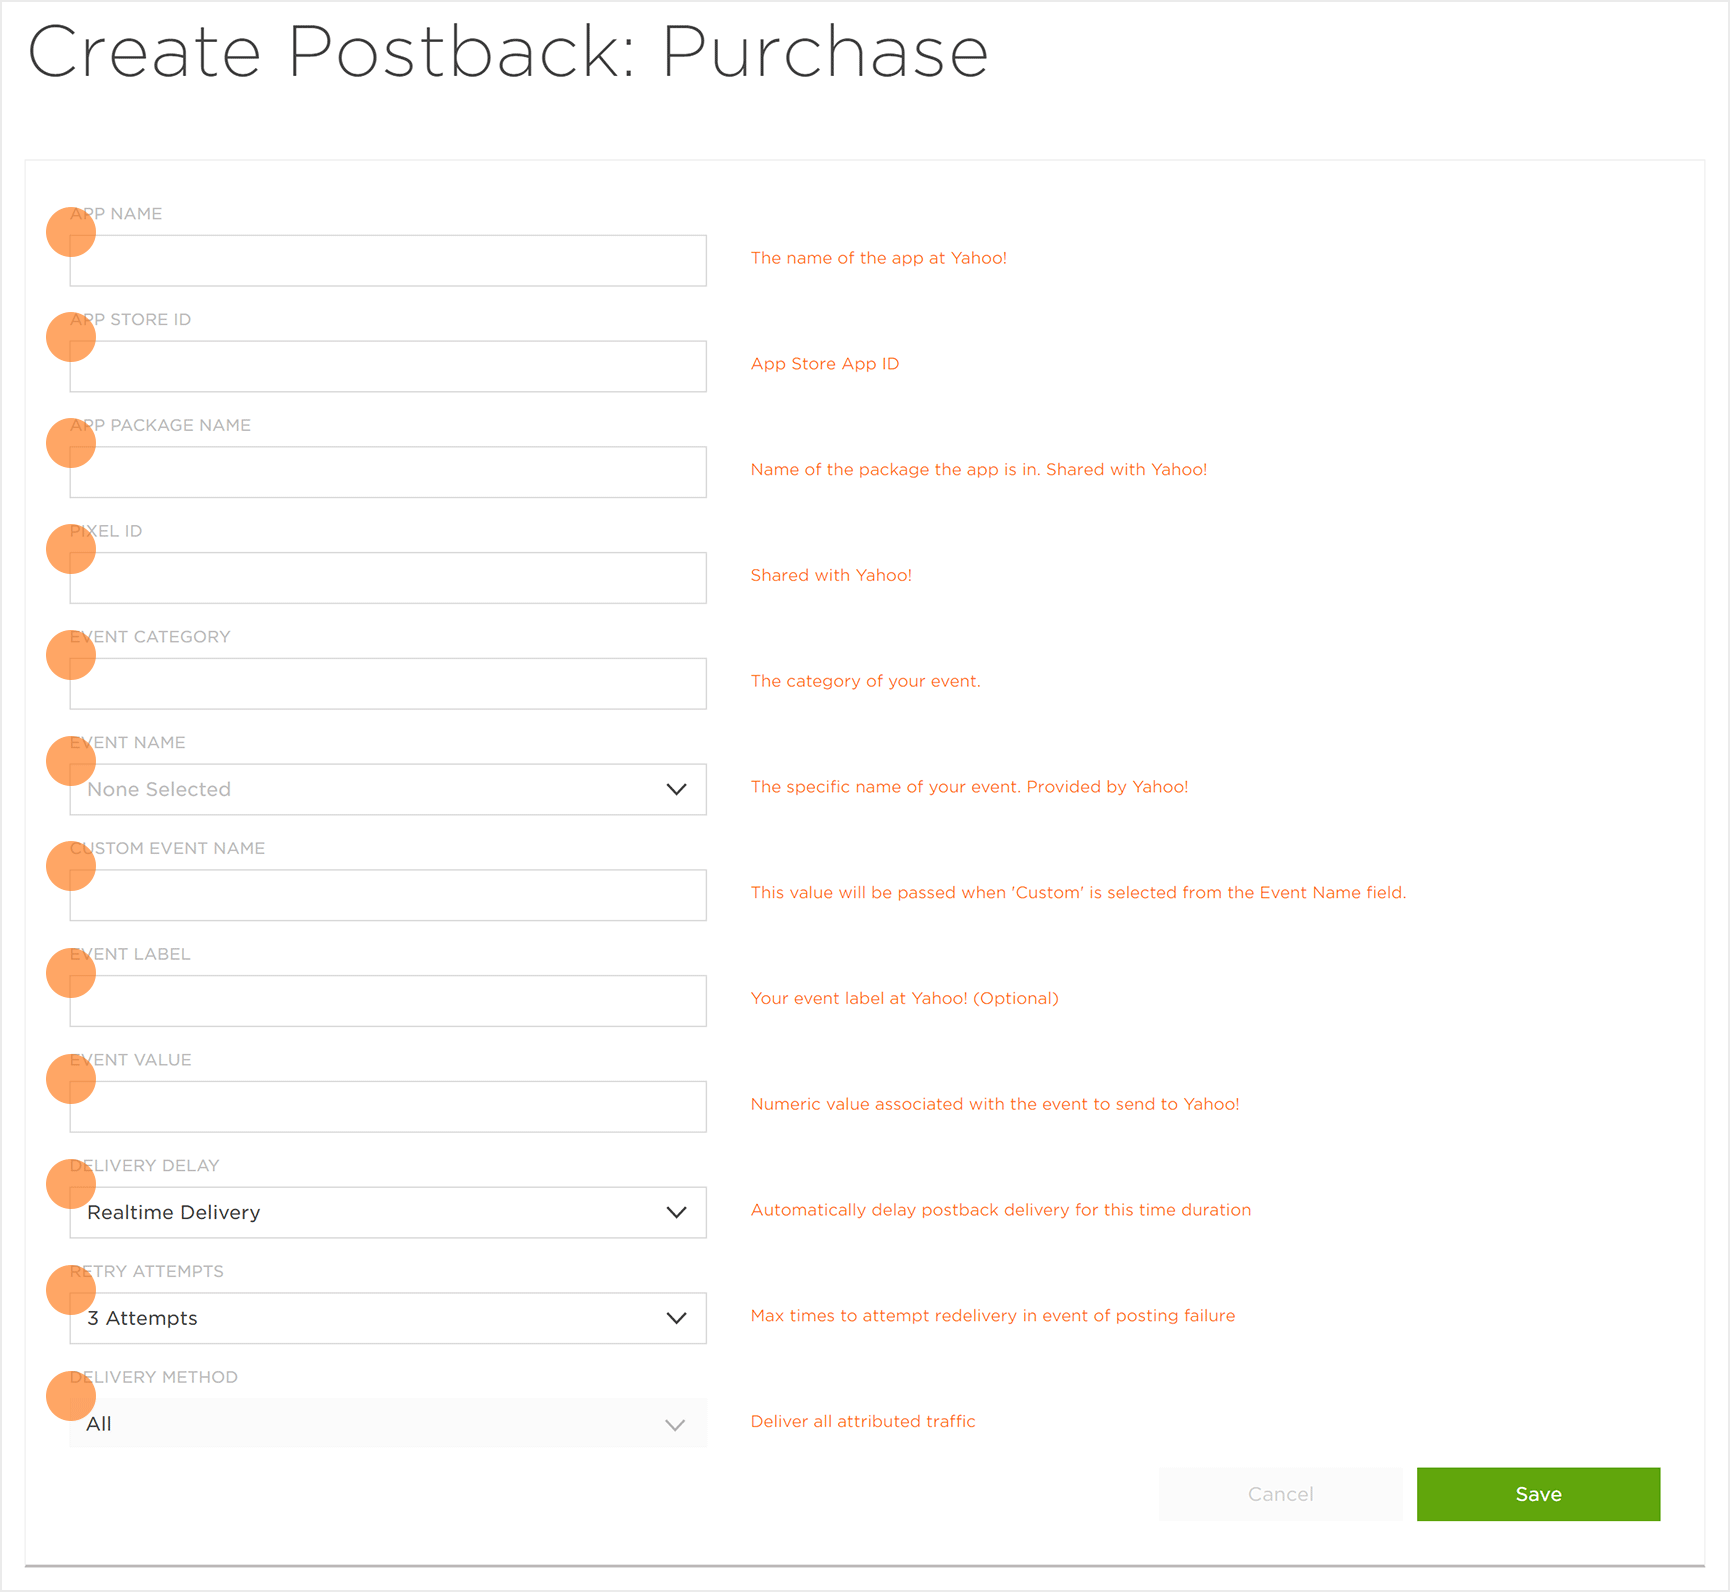
- Enter the App Name.
- Enter the App Store ID.
- Enter the App Package Name.
- Enter the Pixel ID.
- Enter the Event Category.
- Enter the Event Name.
- Enter the Custom Event Name.
- Enter the Event Label. (optional)
- Enter the Event Value.
- Select a Delivery Delay. (optional)
- Select the number of Retry Attempts. (optional)
- Select the Delivery Method. (optional)
- Click Save.


